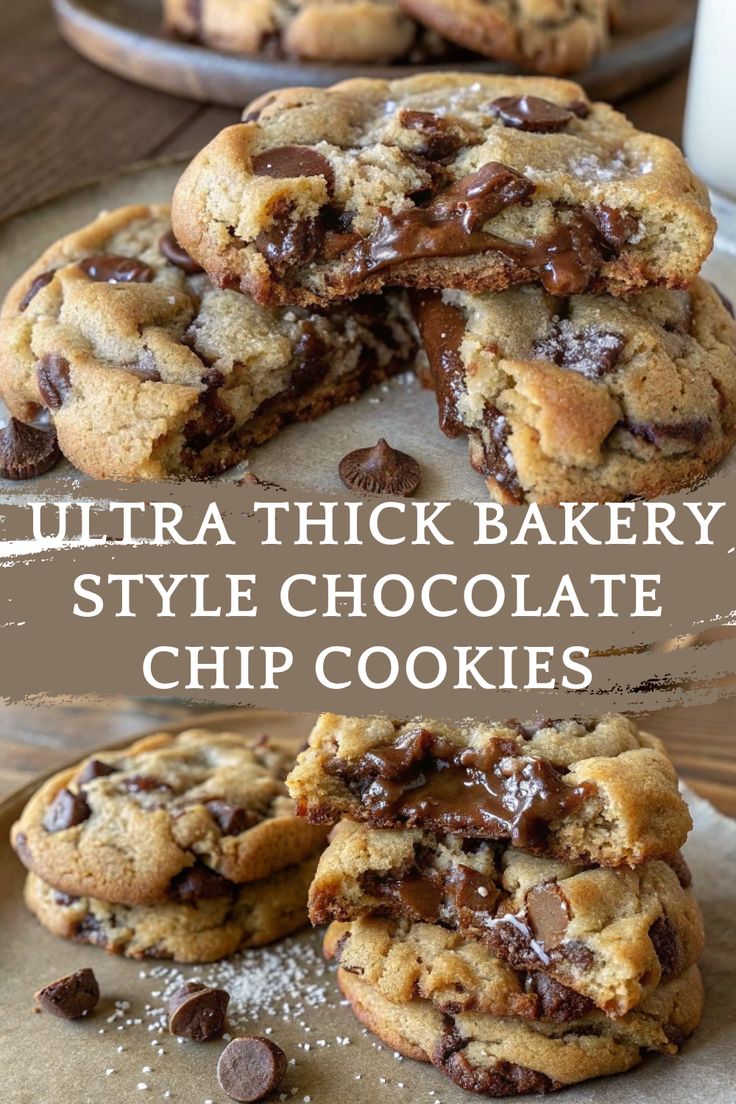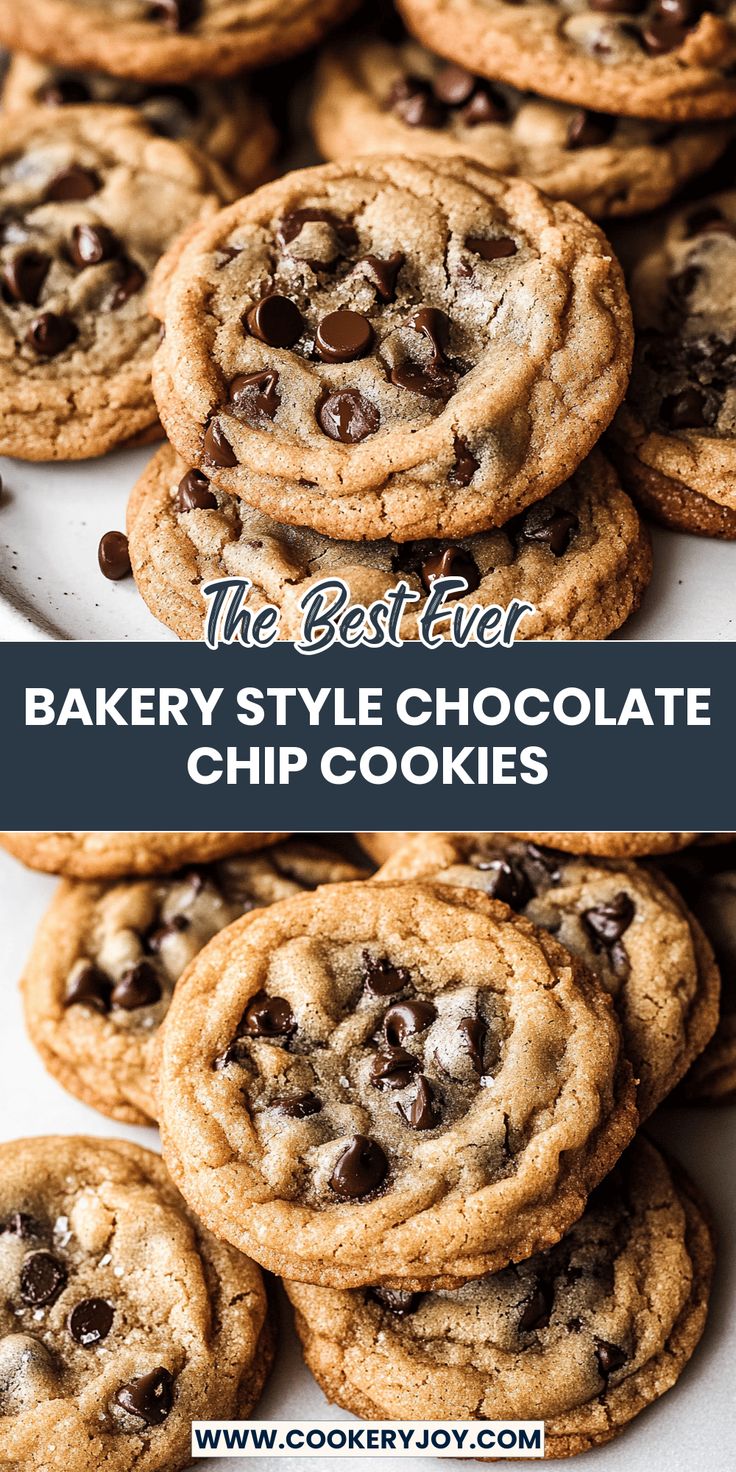
There’s something magical about biting into a perfect chocolate chip cookie—crispy edges, soft centers, and chocolate melting in your mouth. My bakery-style chocolate chip cookies bring that bakery experience right into your kitchen. Whether you’re baking for family, friends, or just yourself, these cookies are chewy, buttery, and absolutely irresistible.
They’re easy, delicious, and impress everyone who tries them. Let’s get baking!
Why These Cookies Are a Favorite
- Super Easy: Quick to mix, no fuss, and perfect after a busy day.
- Delicious Flavor: Classic chocolate chip goodness with a rich, buttery taste.
- Impress Guests: Homemade, bakery-quality cookies everyone raves about!
Ingredients You’ll Need
These cookies rely on simple pantry staples—but each one plays a vital role:
- 1 cup (2 sticks) unsalted butter, softened
- 3/4 cup granulated sugar
- 3/4 cup packed light brown sugar
- 2 large eggs
- 1 teaspoon vanilla extract
- 2 1/4 cups all-purpose flour
- 1 teaspoon baking soda
- 1/2 teaspoon salt
- 2 cups chocolate chips (milk, semi-sweet, or a mix)
Pro Tip: Swap half the flour for whole wheat, add a pinch of cinnamon, or mix different types of chocolate chips for variety.
Step-by-Step Instructions
Step 1: Cream Butter & Sugars
Use an electric mixer to beat softened butter, granulated sugar, and brown sugar until light and fluffy (2–3 minutes).
Step 2: Add Wet Ingredients
Beat in eggs one at a time, then stir in vanilla extract for that warm, rich aroma.
Step 3: Mix Dry Ingredients
In a separate bowl, whisk together flour, baking soda, and salt. This ensures even distribution and prevents pockets of baking soda or salt.
Step 4: Combine Wet & Dry
Gradually mix dry ingredients into the wet on low speed. Stop once just combined—overmixing makes cookies tough.
Step 5: Fold in Chocolate Chips
Gently fold in your chocolate chips for melty pockets of chocolate in every bite.
Step 6: Chill the Dough
Cover the dough and refrigerate for at least 30 minutes (or up to 24 hours). Chilling prevents spreading and enhances flavor.
Step 7: Preheat Oven
Set oven to 375°F (190°C) and line baking sheets with parchment paper.
Step 8: Portion Dough
Drop rounded tablespoons of dough (or use a cookie scoop) onto sheets, leaving about 2 inches between cookies.
Step 9: Bake
Bake 9–12 minutes, until edges are golden and centers slightly soft. Watch carefully to avoid overbaking.
Step 10: Cool
Let cookies cool on sheets for 5 minutes, then transfer to a wire rack to cool completely.
Tips for Perfect Cookies
- Always chill your dough for better texture.
- Do not overmix after adding flour.
- Watch baking times—ovens vary.
- Slightly underbake for chewy cookies, longer for crisp.
- Use high-quality chocolate chips.
Storage Instructions
- Room Temperature: Store cooled cookies in an airtight container for up to 3 days.
- Freezing Cookies: Freeze baked cookies for up to 3 months.
- Freezing Dough: Bake directly from frozen, adding 1–2 extra minutes to bake time.
Serving Suggestions
- Serve warm with a glass of cold milk.
- Pair with vanilla ice cream for an indulgent dessert.
- Share as a sweet ending to any meal.
- Enjoy with coffee for a grown-up treat.
- Arrange on a platter for parties or guests.
Frequently Asked Questions
Q: Can I make the dough ahead of time?
A: Absolutely! Chill dough for up to 24 hours to enhance flavor and control spread.
Q: What if I don’t have parchment paper?
A: Lightly grease your baking sheets. Parchment makes cleanup easier and prevents sticking.
Q: Can I use different types of chocolate chips?
A: Yes! Mix milk, dark, or white chocolate for extra depth.
Q: My cookies spread too much. What went wrong?
A: Dough likely wasn’t chilled long enough. Chilling solidifies butter, preventing excessive spread.
Q: How do I make smaller cookies?
A: Use 1-tablespoon scoops and adjust baking time to 7–9 minutes for perfect mini cookies.